Pesky Gremlins Comic C1
It has been about a month since the last post, so it’s time for an update on where the gremlins and I are at in the process of converting to a more digital workflow.
As I mentioned in the last post, I am in the process of learning a 3D modelling package called Blender. Blender offers some unique capabilities to the cartoonist that potentially can speed the workflow up considerably. However, even with all of the freely available tutorials and learning aids, it still has a steep learning curve. Thus, my original idea to take a month off from the comic strip and learn Blender and create the digital assets was unrealistically optimistic. In fact, I had barely scratched the surface after that first month and decided just to keep going until I had learned enough about Blender to integrate it into the comic strip.
Well, it has now been almost 4 months and while I wouldn’t say that I have mastered Blender and 3D modelling, I have started to develop the skills needed and acquire some of the digital models that I will require.
Last month, I showed the first products of all of this effort: Elmo’s classic Corvette. After 3 months of Blender tutorials and practice, those were the first images that might have been useful in the Pesky Gremlins cartoon. But they had a number of problems, which is why they did not appear on any of the usual social media platforms. The images just didn’t quite fit in with the rest of the cartoon. They looked a little too realistic. Fortunately, Blender is just about infinitely tweakable and with a few more tutorials and lots and lots of test runs, I have a much better method of coloring and shading the images.
Here is a little example. The next model that I chose to do was Elmo’s purple AMC Gremlin. Mostly because I came across a pretty good 3D model that didn’t require much work to get it to look like the one that has appeared previously.
For comparison, here is the most recent version of Elmo’s purple AMC Gremlin that I drew for the strip sometime in 2020. It took a lot longer than the 2 hours that I try to complete a background image in…
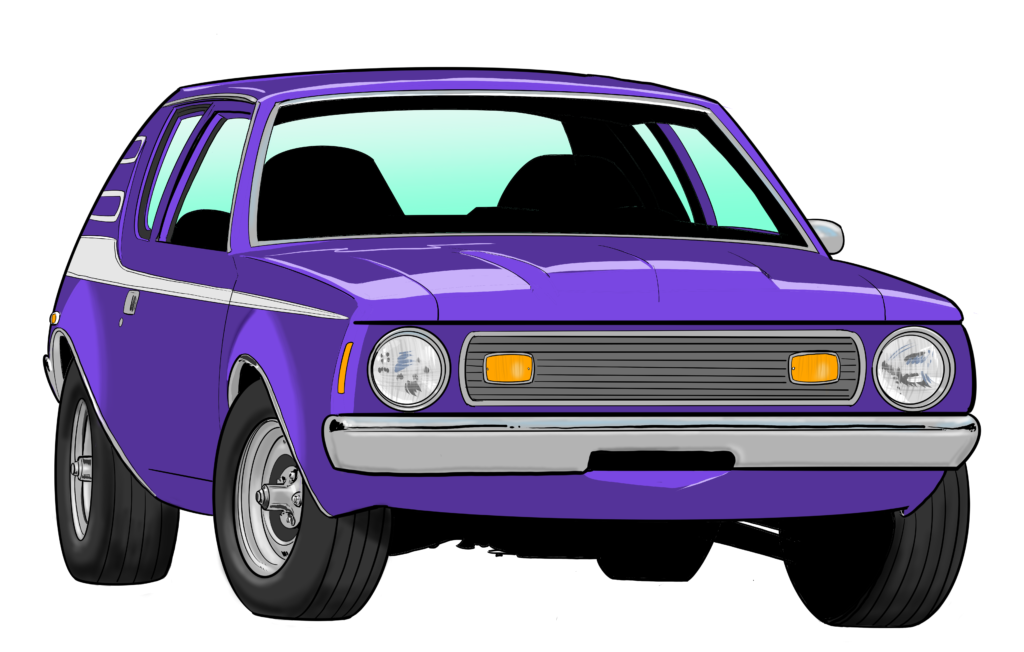
…And here is the initial 3D image that I did with Blender: 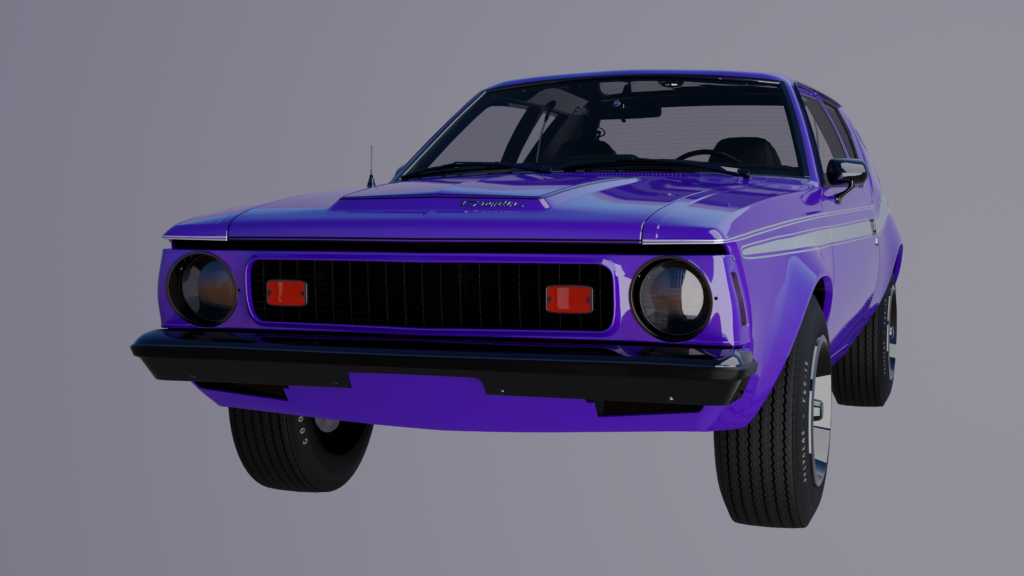 As you can see, this Gremlin looks a little too good. It is almost like a photograph and would look completely out of place in the Pesky Gremlins comic strip.
I had learned a few things from doing the previous Corvette and knew that there were several paths to get the Gremlin to better fit in the comic strip. The first option was to just have Blender draw the inked image for me and then I could just paint it like I usually do. That step alone would be a huge time saving. …And here is what that step looks like: 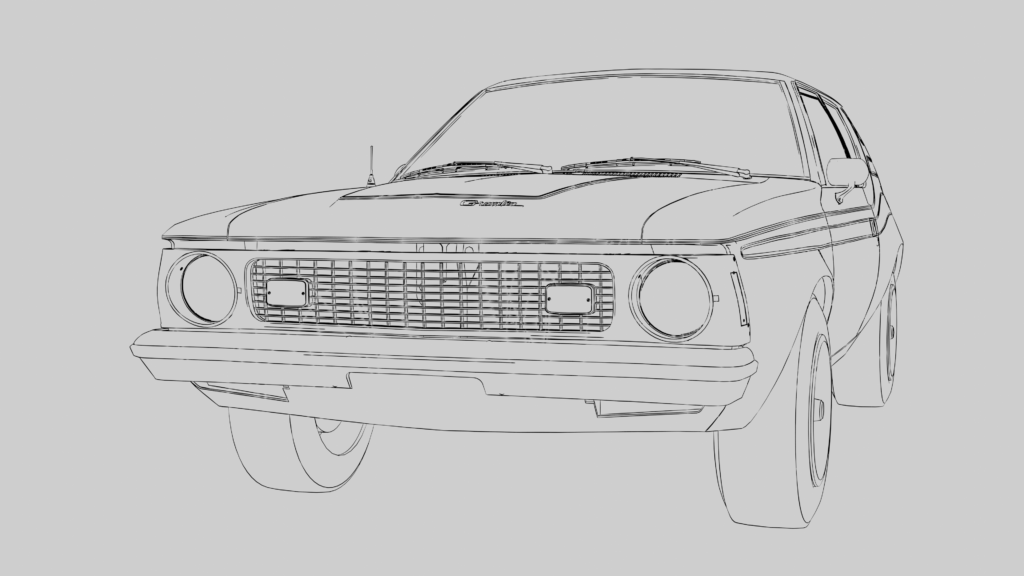 Not bad, not bad at all. But it needs just a little help with the line work as all of the lines are the same weight. So, I pulled it into my usual drawing program and 5 minutes later I had increased the outline’s line weight and had this:
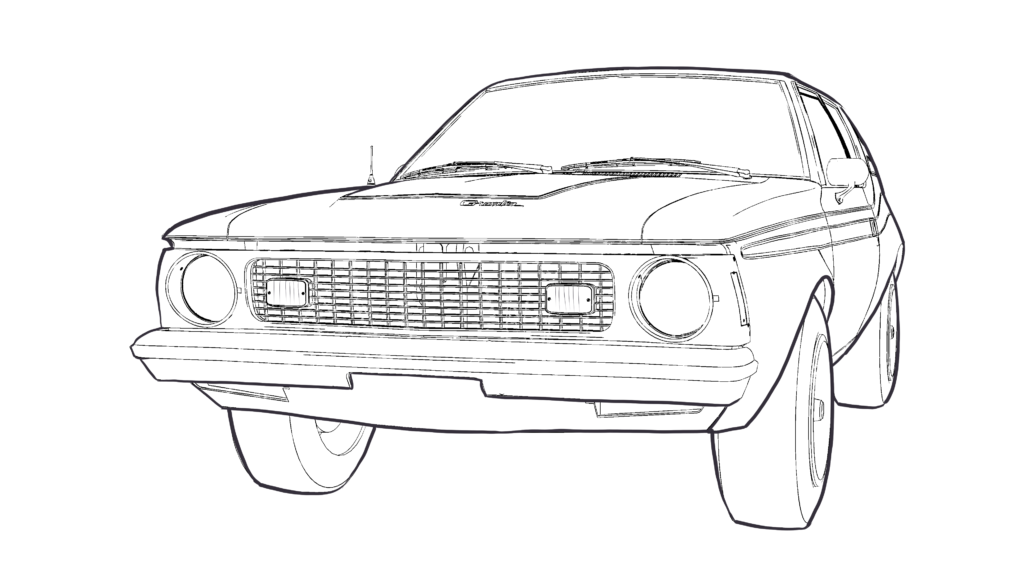
While the inked drawing would be a great time saver, I had read the Blender was capable of doing cartoon-like shading. So, I continued to experiment and tinker until I came up with something like this. The coloring and shading looks very close to what I have done in the past, but there were a few details that look out of place. So… 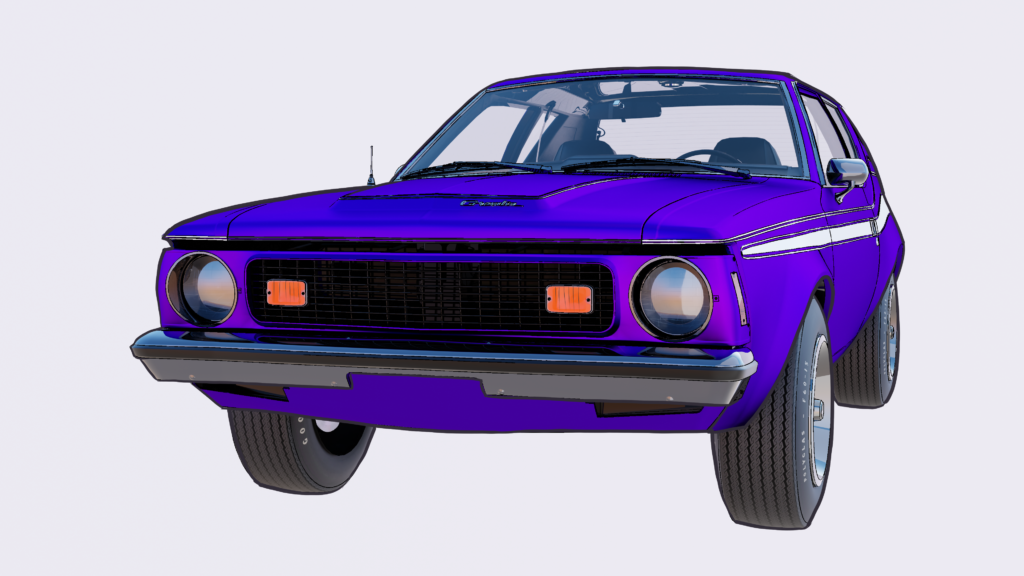 …Since I already had a version in the old art program. I just added another layer and painted over the details that didn’t match and ended up with this:
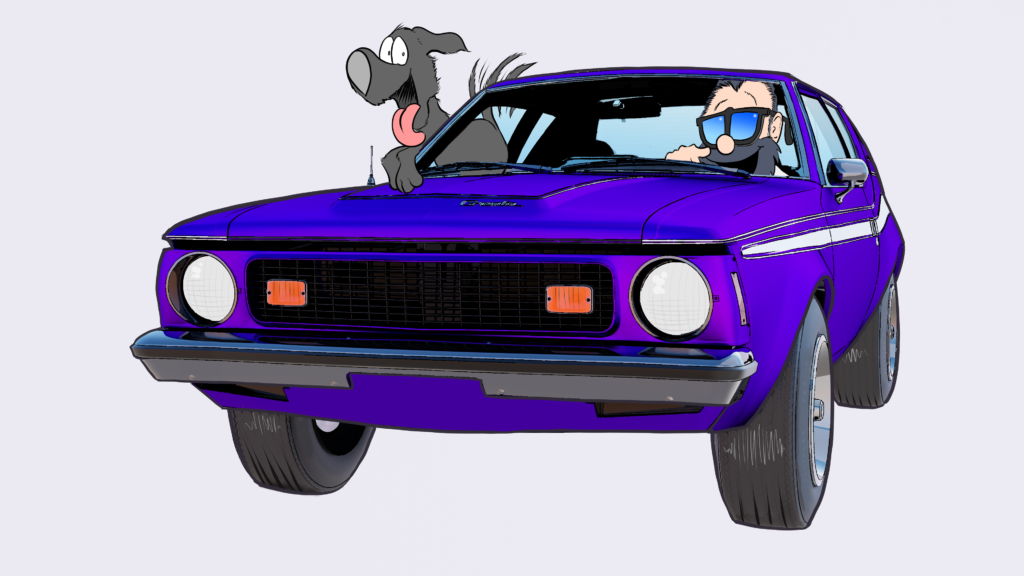
 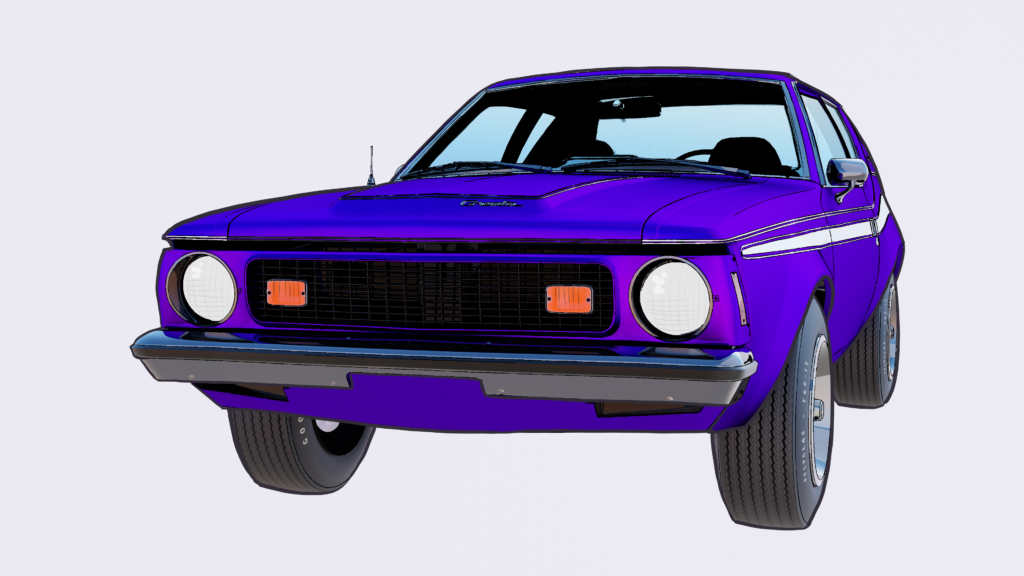 This looks very much like something that would appear in the comic strip. Not including all of the fumbling around trying to figure out how all of this works, the total time to do an image like this is about 30 minutes, with about 10 minutes of that time waiting for the computer to render the color image and draw the ink strokes.
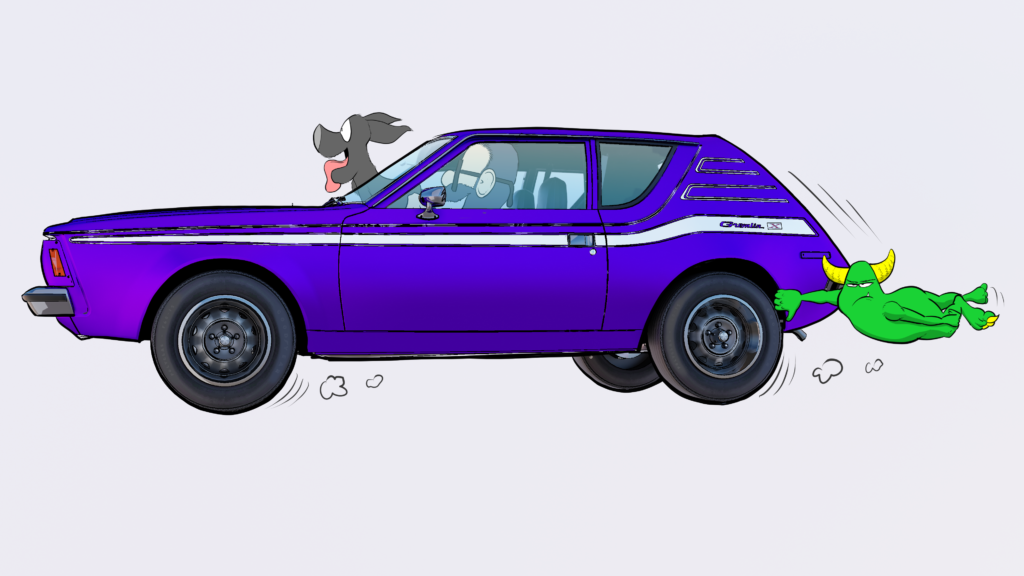
Elmo’s Gremlin looked so nice that he and Sprocket just had to take a little spin in the new version of the Gremlin. 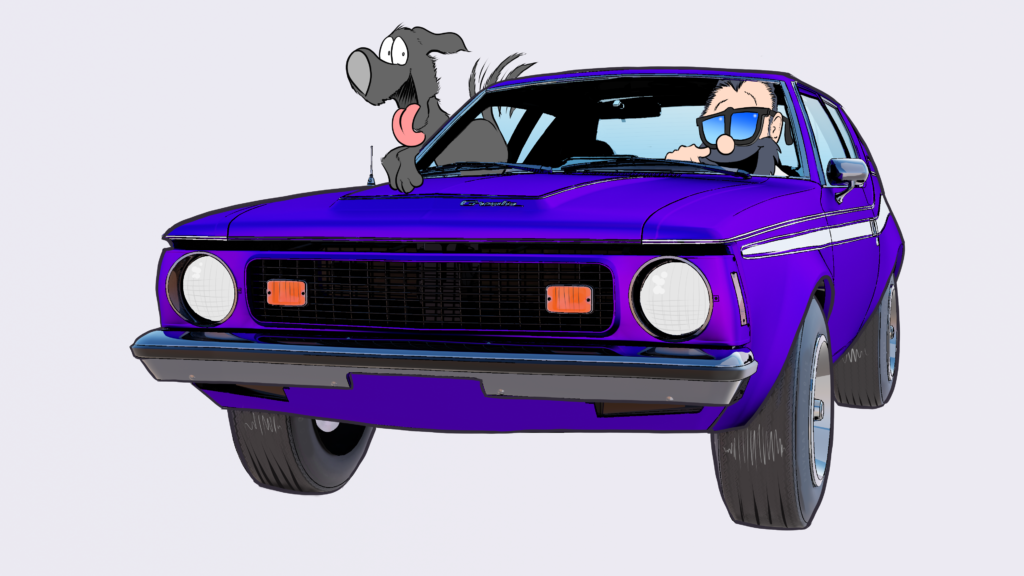 Of course, Snafu still is not onboard with all of this change.


4 thoughts on “Pesky Gremlins Comic C1”
Binky
Looks really good! The idea of adding another layer on top of the image so that you can make it look more like your original drawings is excellent. A simple solution that will allow you to adjust those things that you think are out of place.
H Stacy
Thanks Peter! Ideally, that last layer of fixes should be handled within the 3d model and its materials, but I still have lots to learn with 3d modelling. On the other hand, it is a LOT faster to just paint over the stuff that doesn’t look quite right.
Dana Atnip
Nice process post! I like the final and the changes you made, it looks more cartoony now and will fit in better with your comic. I had also forgotten to mention in the last comic how much I loved everyone’s reactions to the new program. I’m afraid I’m with Snafu on this one, I usually have to be dragged into change, haha!
H Stacy
Thanks Dana. I am not entirely satisfied with the cartoon look but since this is a work-in-progress post, it seemed to fit.
The character’s reactions pretty much cover my feelings on the subject as well. Snafu’s reaction more less covers the two years it took me to work up the nerve to learn Blender and try some of this new technology out. So, it would appear that we have similar views on this subject. 🙂