

DIY
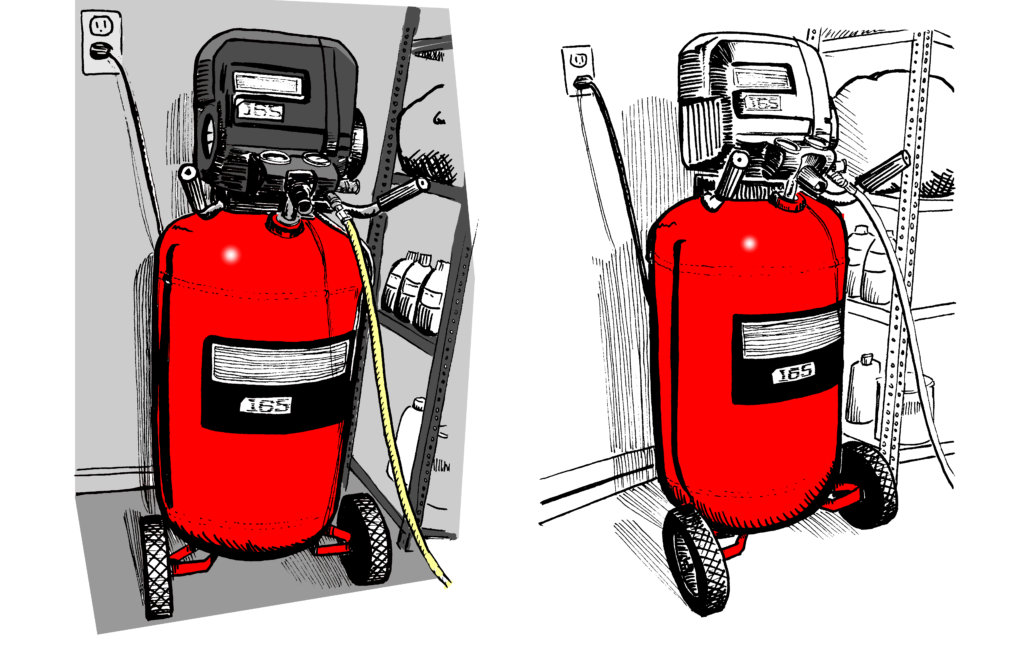
I knew that this moment would happen, but I wasn’t looking forward to it. After collecting many small and medium items from the various free 3D models sources, I finally ran into the problem of a 3D model that I wanted simply not existing. I had something very specific in mind. I was looking for the red upright air compressor that sits beside the Corvette in the garage. Here’s how the air compressor looked both in my mind and in past episodes of Pesky Gremlins:
I searched high and low for a similar 3D air compressor model and had no luck. I even considered buying a 3D air compressor model, but still could not find a model that was close. And some of those models were quite expensive! I, with some reluctance, had come to the conclusion that I would have to build the air compressor model myself.
So, with my cartoon drawing and some real references that I had found on the internet, I began to build my air compressor model. The first thing that was needed was the big rounded red cylinder. Being a novice at 3D modelling meant that it took me a long time to come up with this simple geometry. But I eventually came up with this: 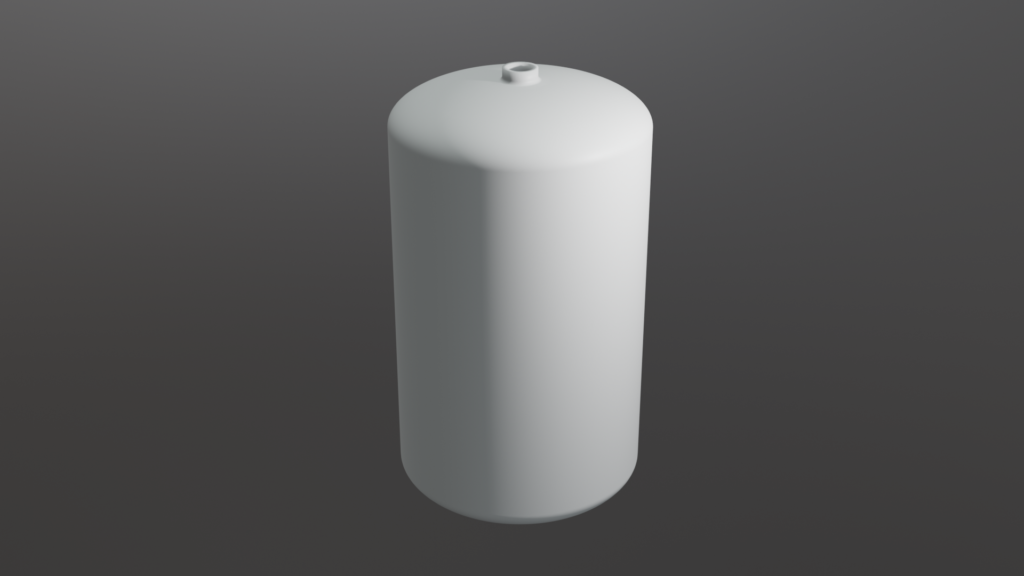
I admit the big cylinder by itself is less than impressive. From there I added the undercarriage supports: 
And the wheels. (I downloaded the wheels which was a huge time savings!)  The hardest part was the actual compressor itself which was covered by an elaborately molded plastic cover. Since there was a great deal of trial and error involved in creating this oddly shaped plastic cover, this took a great deal of time.
It needed a few more details to finish up the model. A knob, pressure gages, and an on/off switch were added. It just needed to be painted and textured. All of the time that I had spent touching up all of those small to medium items for the shelves came in handy, now. It was a fairly quick job to paint the various pieces to come up with this:  I now needed to add the stickers and decals. These were created in my usual paint program and then mapped to the air compressor model. A coiled hose was added to the handle bar and the 3D air compressor was done …more or less.
  It still needed to be converted into a cartoon…
  …and see what the gremlins thought about the completed 3D air compressor model
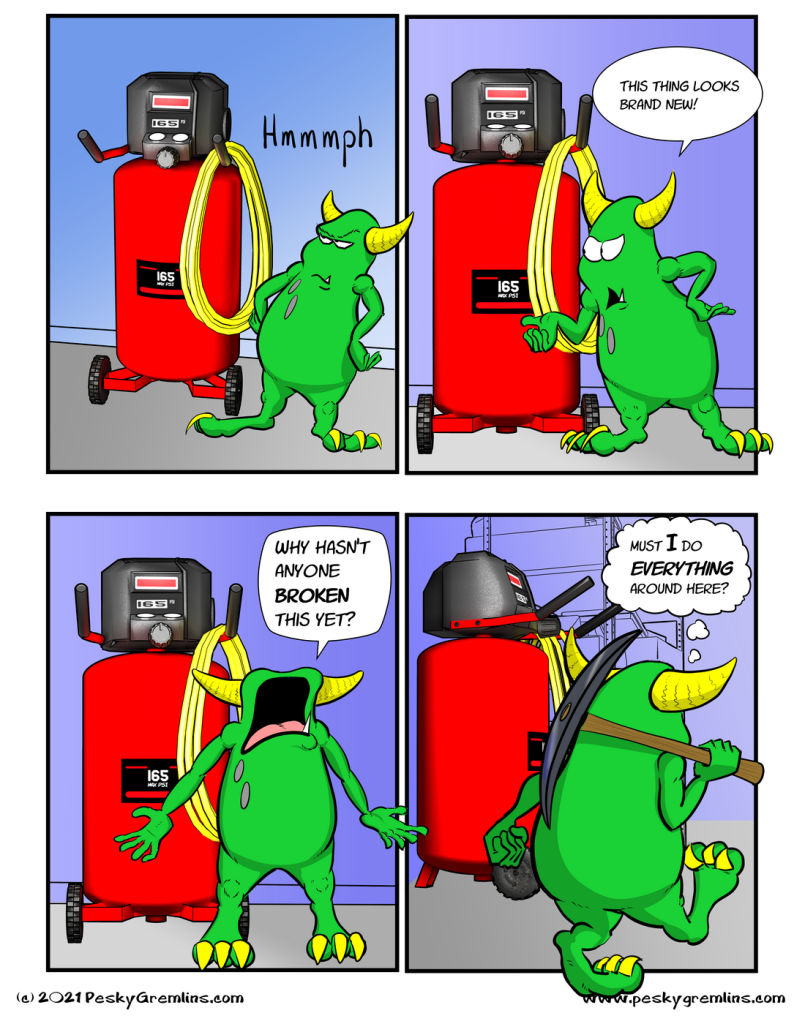
10 thoughts on “Pesky Gremlins Comic 712 – DIY”
Binky
That looks really good. The compressor cover is a complex part with a lot of different shapes, so it’s no wonder that took a while to make. The detailed step by step construction of the whole thing was interesting to see.
H Stacy
Thanks Peter! I really had my doubts as to whether or not I could make a reasonable facsimile of that compressor cover. It came out better than I expected.
On to the next item…
David Hurley
Just think of the enjoyment you will get Snafu!
H Stacy
Snafu does enjoy his work!
Dan
Amazing!
H Stacy
Thanks Dan! but just wait until you see the Jaguar that is in progress. 🙂
Dana Atnip
If you want something done right, eh, Snafu? 🙂
Watching your process of 3D modeling is akin to me watching some physic perform an equation, haha; I’m impressed but I have no idea how to do it myself! 😁
H Stacy
Snafu agrees but he does tend to be overly dramatic.
I felt the same way when I watched the first few Blender tutorials. If you are interested in learning a little more, google Blender Guru and look for the Donut tutorial.
Tony McGurk
I guess somebody has to do it. At least if you do it yourself you know it’s broken properly
H Stacy
As the saying goes: “If you want it done right, do it yourself”. Besides, he wouldn’t want to leave a job like this up to Fubar!